
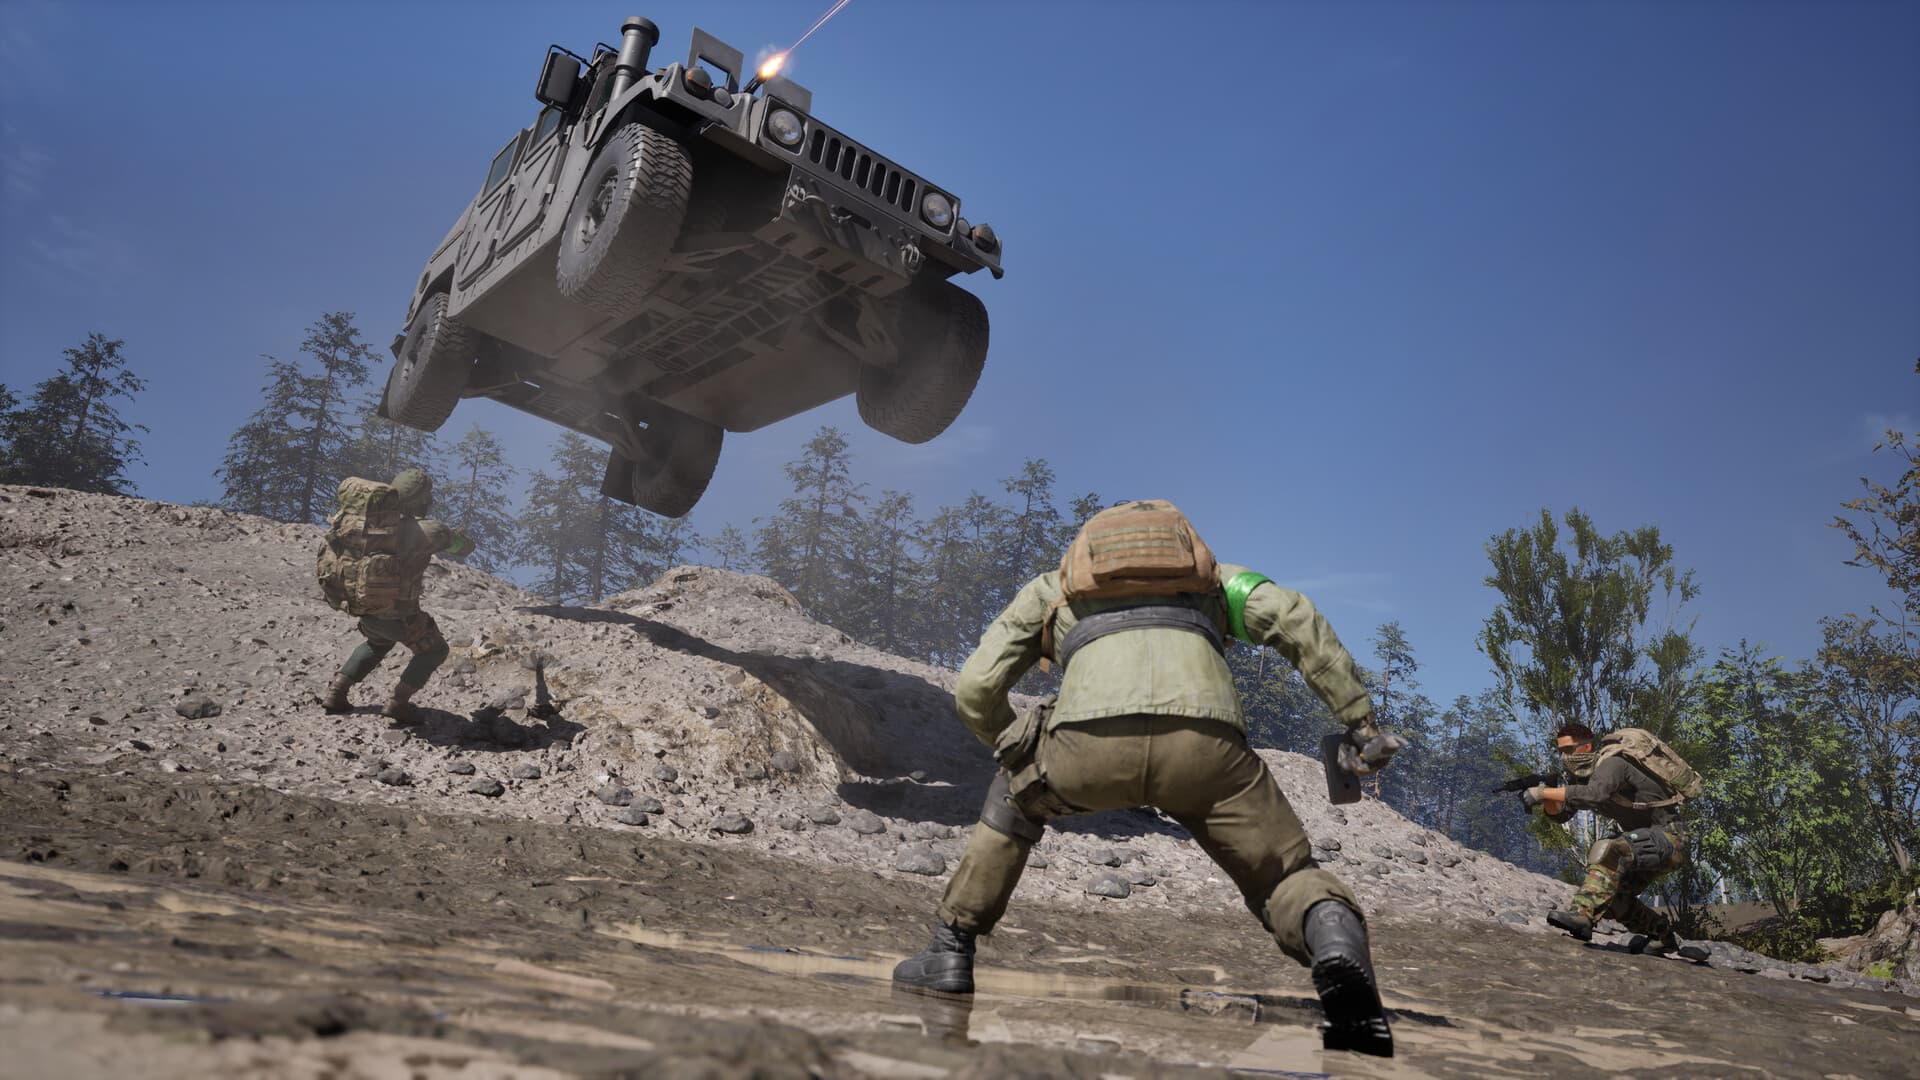
Win the route into the Control Zone as well as the ground inside it. Presence creates progress, but transport, spawn access, supplies, cover and safe reinforcement paths determine whether that presence survives long enough to matter.
Read the three scales of the objective
Start with the whole battlefield: identify broad terrain, long transport routes and the direction each team is likely to reinforce from. Then read the Control Zone as the main scoring space, and finally identify the smaller pieces of cover, road access and elevation that shape the immediate fight.
Because the active area can vary, do not carry a fixed opening from one match into the next. Re-evaluate distance, exposed crossings, vehicle access and destructible cover before committing the first expensive wave.
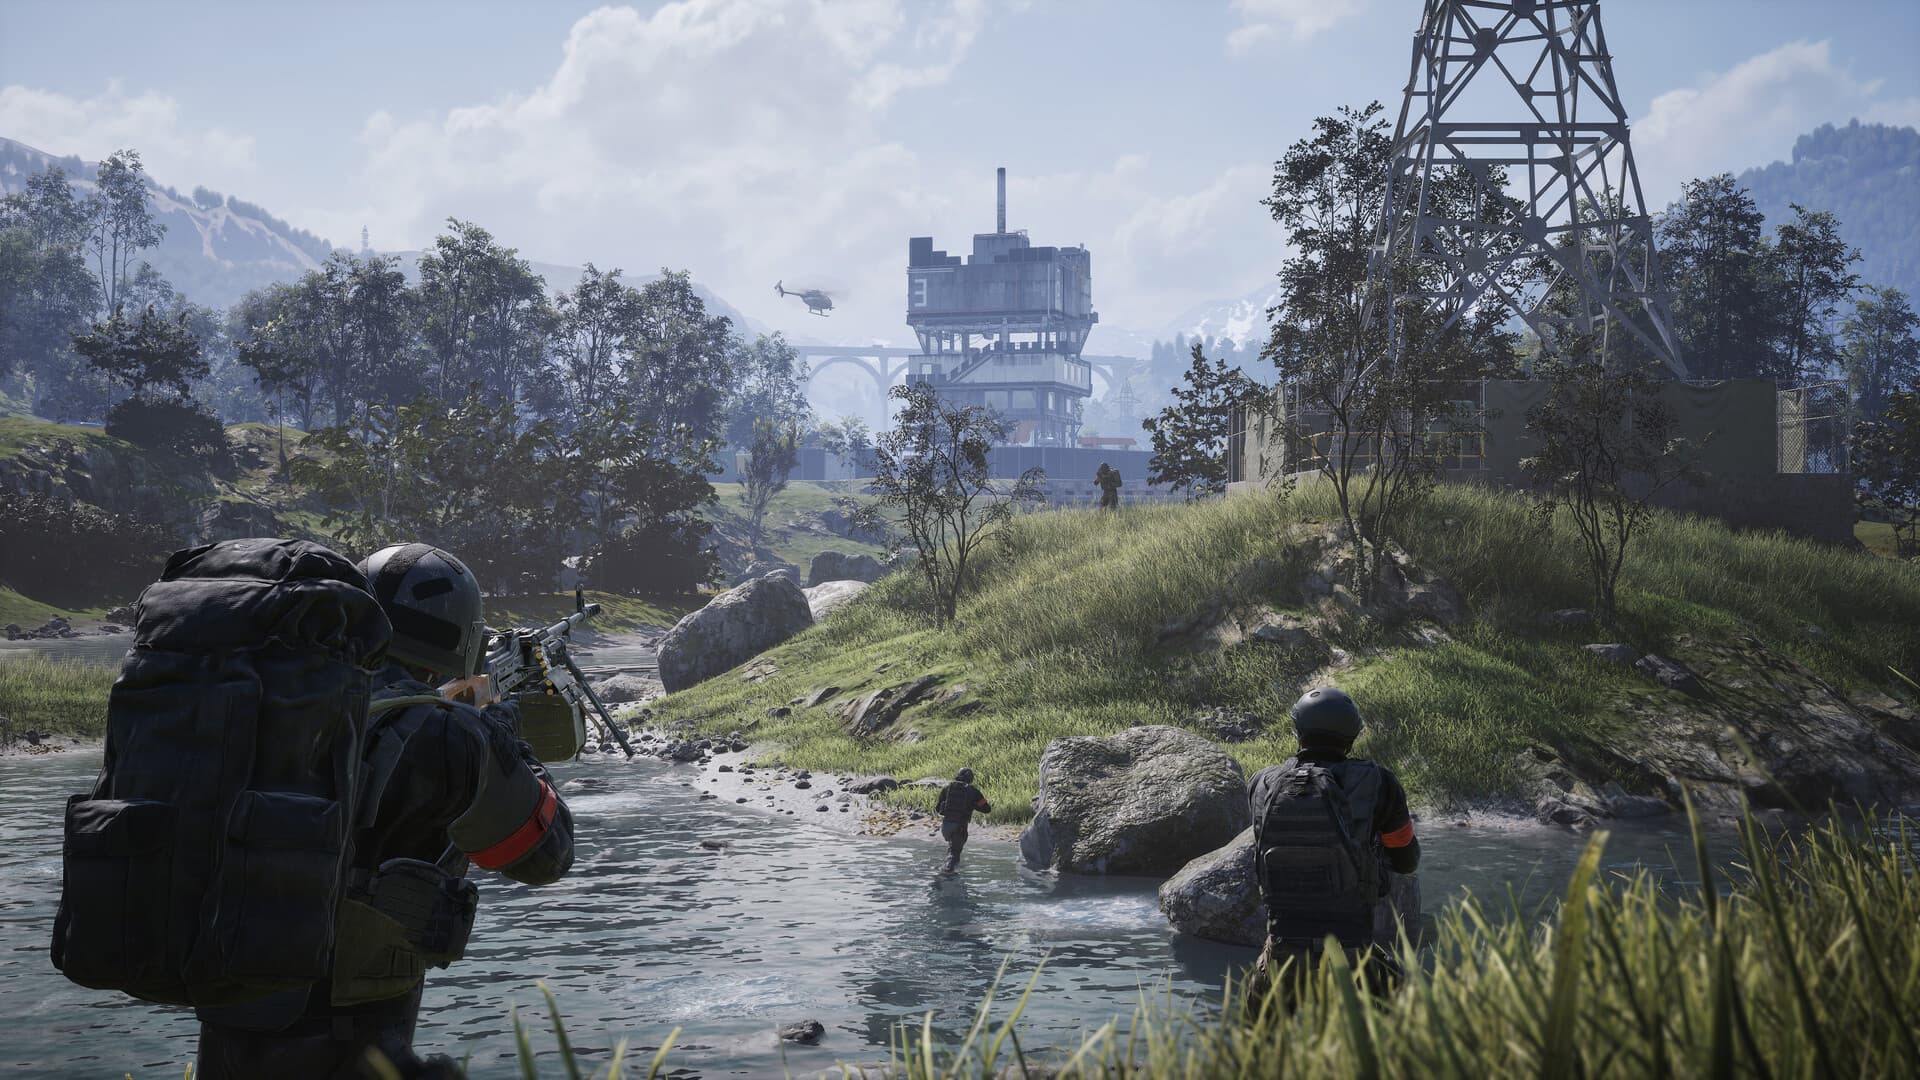
Secure an approach before crowding the center
More players inside the objective can create progress, but a concentrated group with one exposed route is easy to isolate. Establish at least one covered infantry approach and, where possible, a separate path for transport or supplies.
Use overwatch to protect movement rather than to chase distant targets. The useful question is whether each engagement helps teammates enter, remain in or return to the scoring area.
Build a reinforcement chain
Sustained control comes from a sequence: rear supply, transport, a survivable forward access point, medical support and players able to replace losses. If one link is consistently failing, sending more people into the final link rarely fixes the problem.
Watch travel time after each death. If the route has become too long or predictable, shift transport, create a safer dismount or establish another direction of pressure before the current position is exhausted.
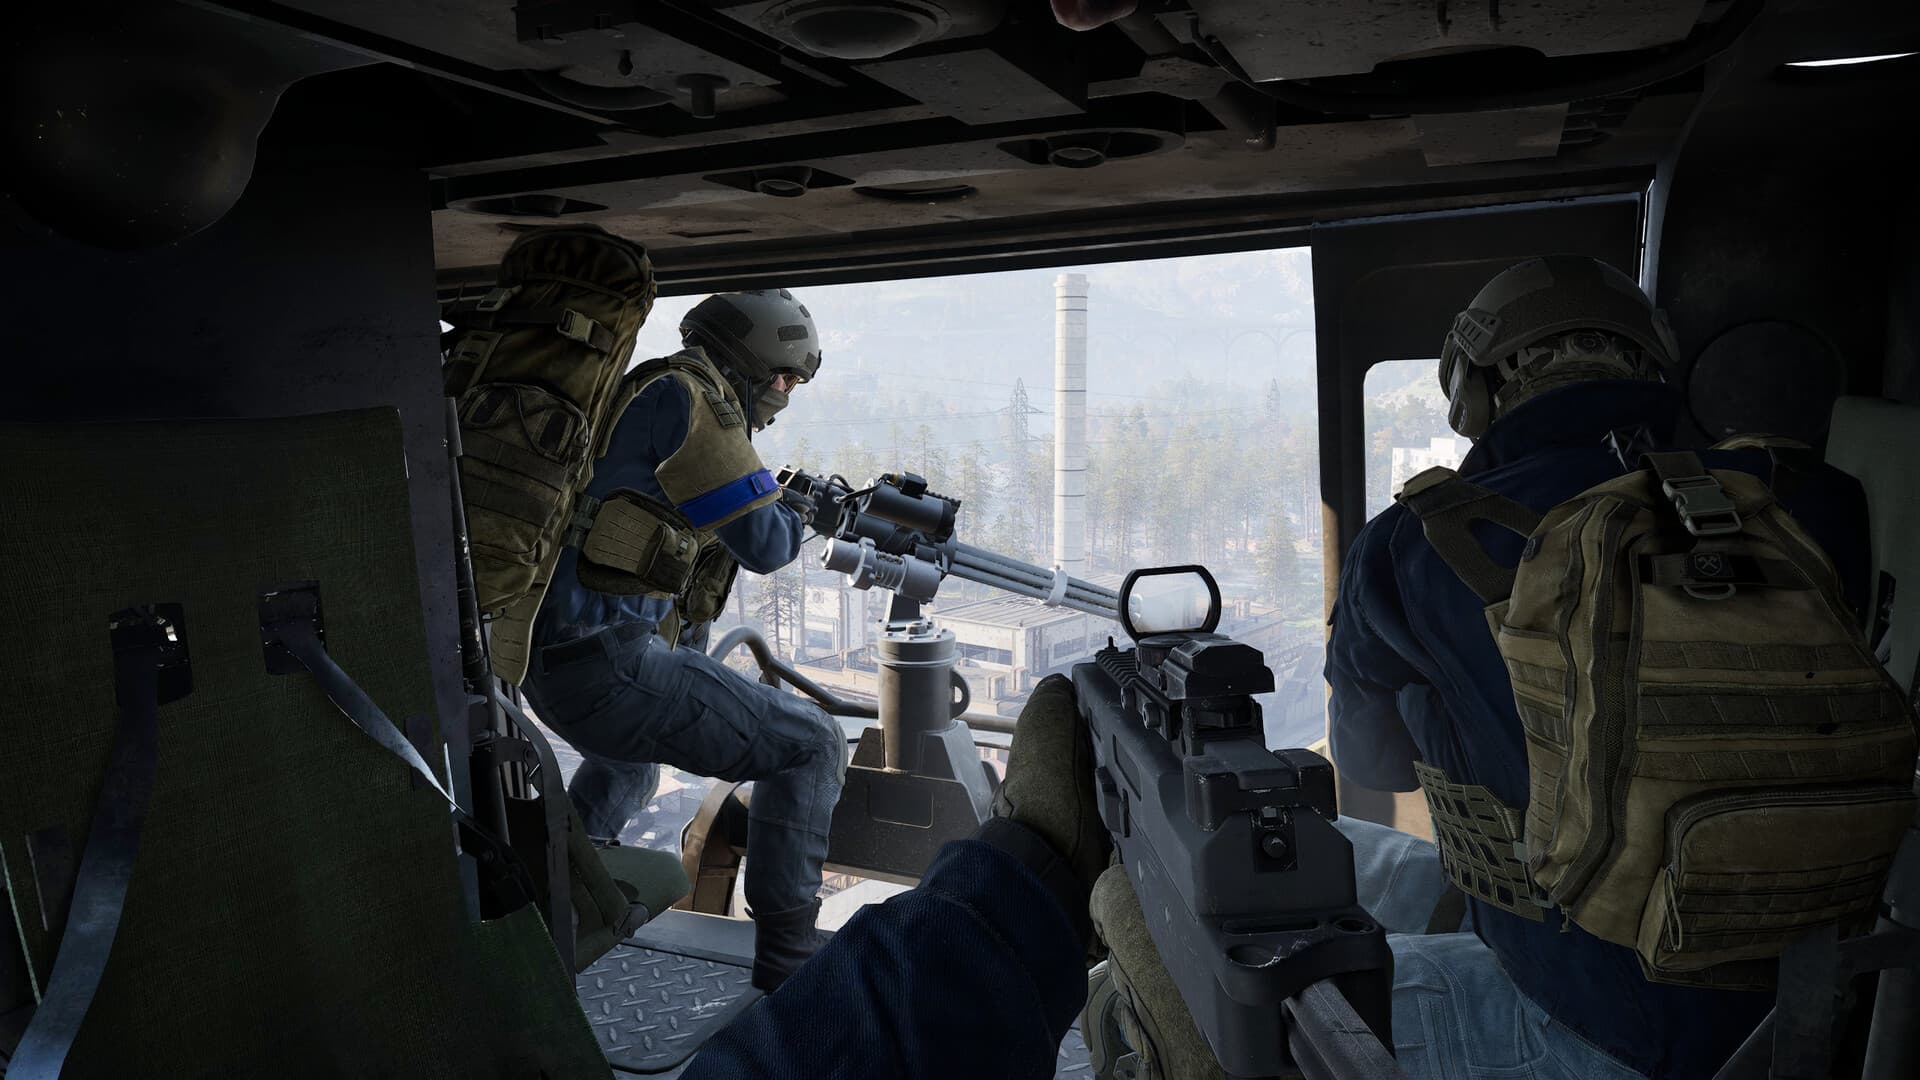
Divide the squad by function
A balanced squad can separate into close presence, a support element and a mobile element without losing cohesion. The close group holds useful cover, support sustains the position, and the mobile group watches a flank, escorts logistics or reacts to a new attack route.
Avoid spreading so far that revives, communication and mutual support disappear. Functional separation should create multiple useful angles while preserving the ability to recombine quickly.
Know when to rotate or disengage
A position stops being valuable when it no longer protects presence, reinforcement or a route the team can use. If the enemy controls the approach and the squad is buying expensive isolated lives, fall back far enough to restore a coherent entry rather than feeding the same angle.
When the active fight shifts, leave in an order that preserves mobility and supplies. Vehicles and specialist kits should not be abandoned merely because the scoring focus moved; they are the tools needed to establish pressure at the next location.
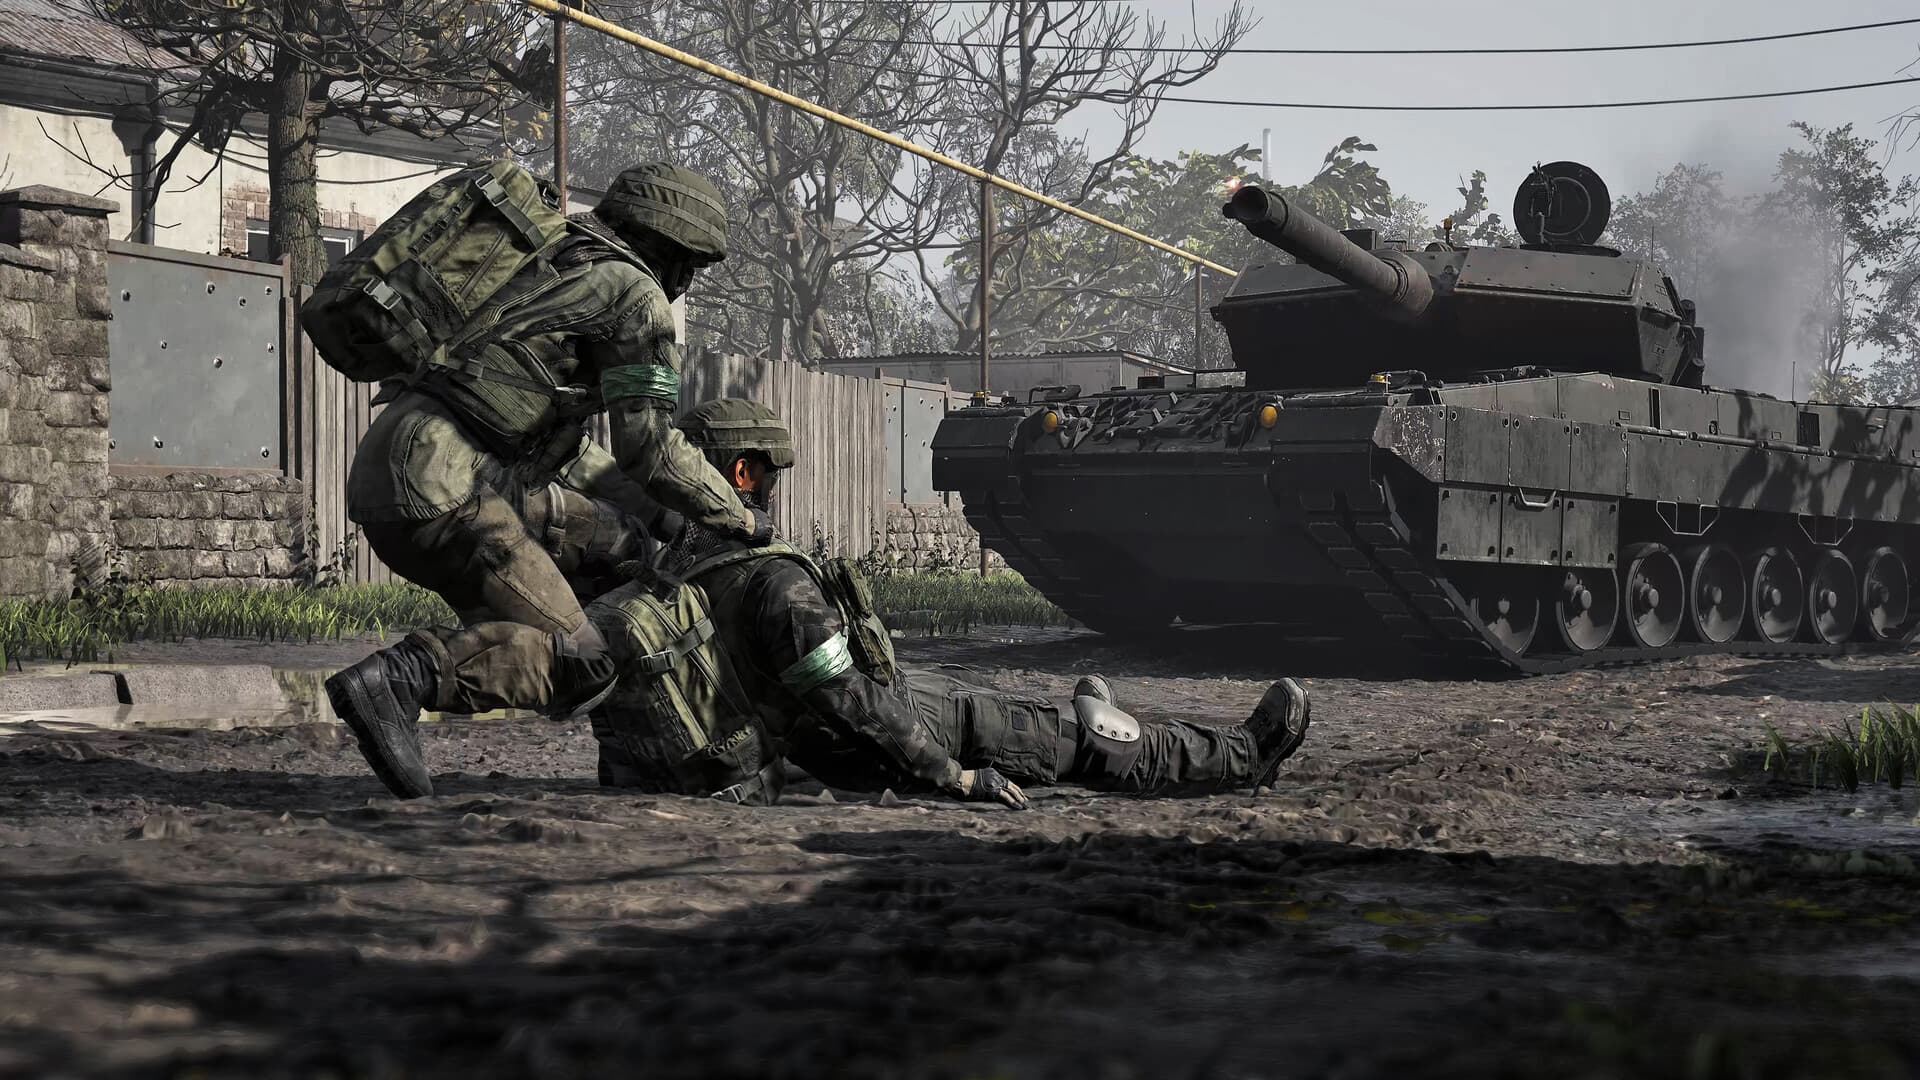
Review the objective after the match
After the match, separate reliable patterns from assumptions about a particular route or location. Treat terrain markers as flexible callouts rather than fixed tactical facts.
Use the review to form a conditional plan: if the zone favors open approaches, bring transport and long-range support; if it compresses around structures, prioritize safe access, medical support and short reinforcement time.
Check after an update
WARDOGS is in Early Access, so prices, item details and balance can move between updates. These guides focus on practical decisions; check the current game build before you commit to an expensive purchase or a system-level PC change.
Frequently asked questions
How do teams score in the Control Zone?
Progress comes from team presence in the active zone. Exact scoring behavior can change with balance and interface updates, so check the match HUD when a patch lands.
Should everyone stay inside the objective?
No. Some players need to protect approaches, transport reinforcements, sustain supplies or stop an enemy flank. Those jobs should still directly support continued presence.
Why are fixed tactical markers not shown on the map?
The map image is there to help you read the battlefield, not to promise exact spawn, supply or objective coordinates.